If you haven't already done so, proceed with the InCommon invitation process.
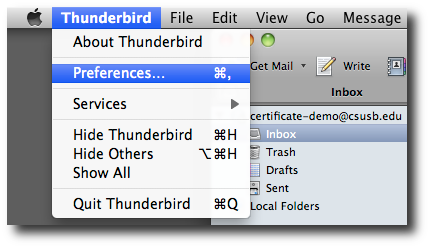
Find the "Preferences" menu
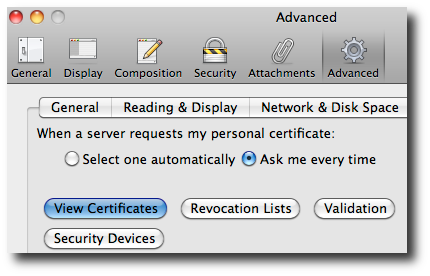
Under "Preferences" Navigate to "Advanced" → "Certificates" → "View Certificates"
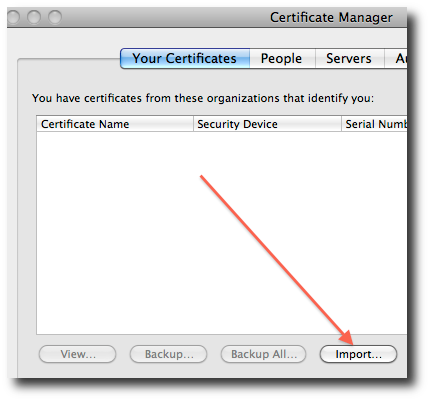
From the "Your Certificates" tab, use the "Import" button
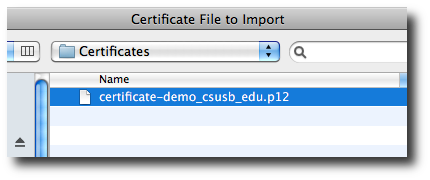
Select the .p12 file downloaded saved earlier
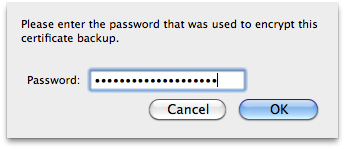
Use the passphrase you submitted as the "PIN" to the invitation confirmation page.
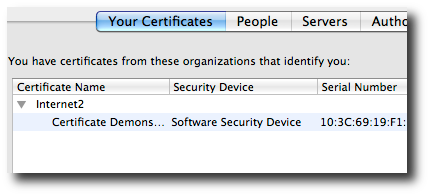
Once successfully imported, your certificate will be listed under "Your Certificates"
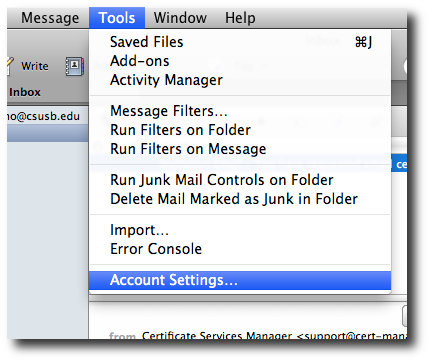
After importing, you'll need to configure your account to use certificates. Find the "Account Settings..." menu.
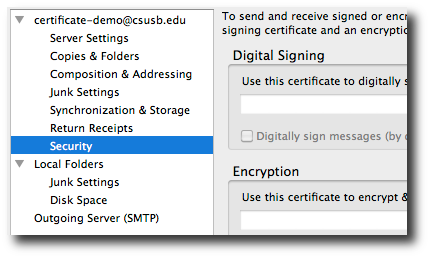
Find the "Security" option for your account.
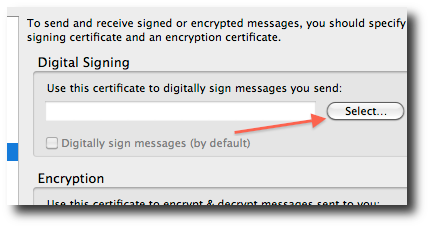
Use the "Select..." button to select a signing certificate.
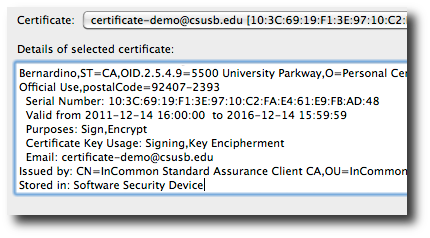
You should be prompted to use the certificate just imported. A number of issues may prevent this, such as if the "Email Address" setting for the account does not match the email address used in the certificate.
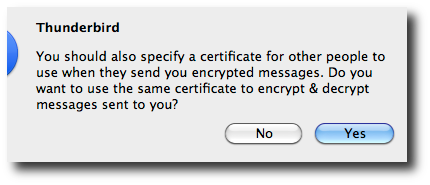
When prompted, choose "Yes" to use the same certificate to encrypt & decrypt messages.
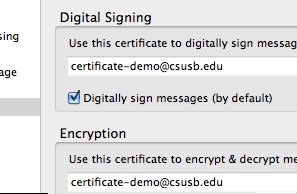
Optional: choose the "Digitally sign messages (by default)"
Example Digital Signature: Thunderbird
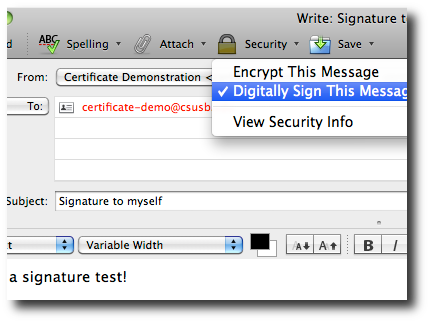
Send an email to yourself to test the certificate. Be sure to select "Digitally Sign This Message" from the "Security" toolbar button.
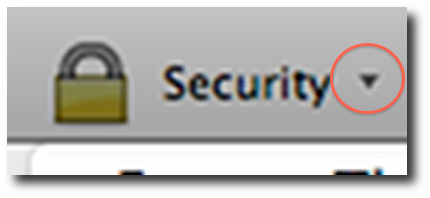
Note: use the small arrow (looks like: ∇) next to the security lock icon.
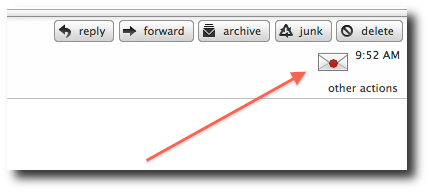
A properly signed email will arrive with an icon that appears like a wax-sealed envelope (or sometimes as a ribbon).